Historic office building avoids major health risk with new membranes
1800 3rd Street
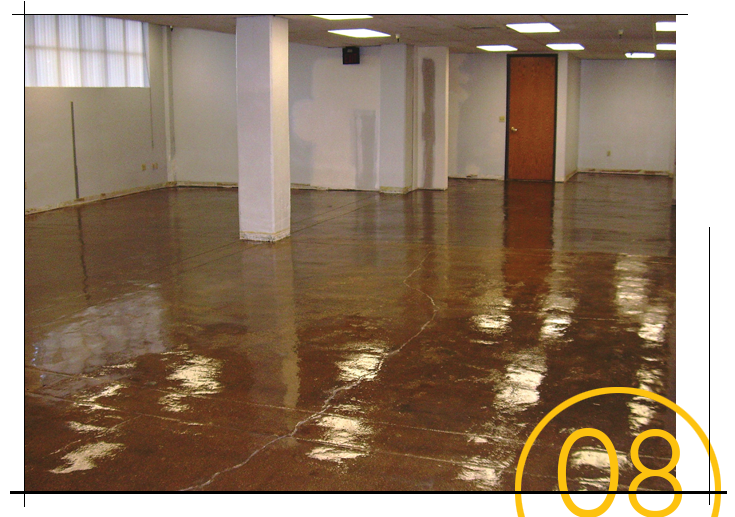
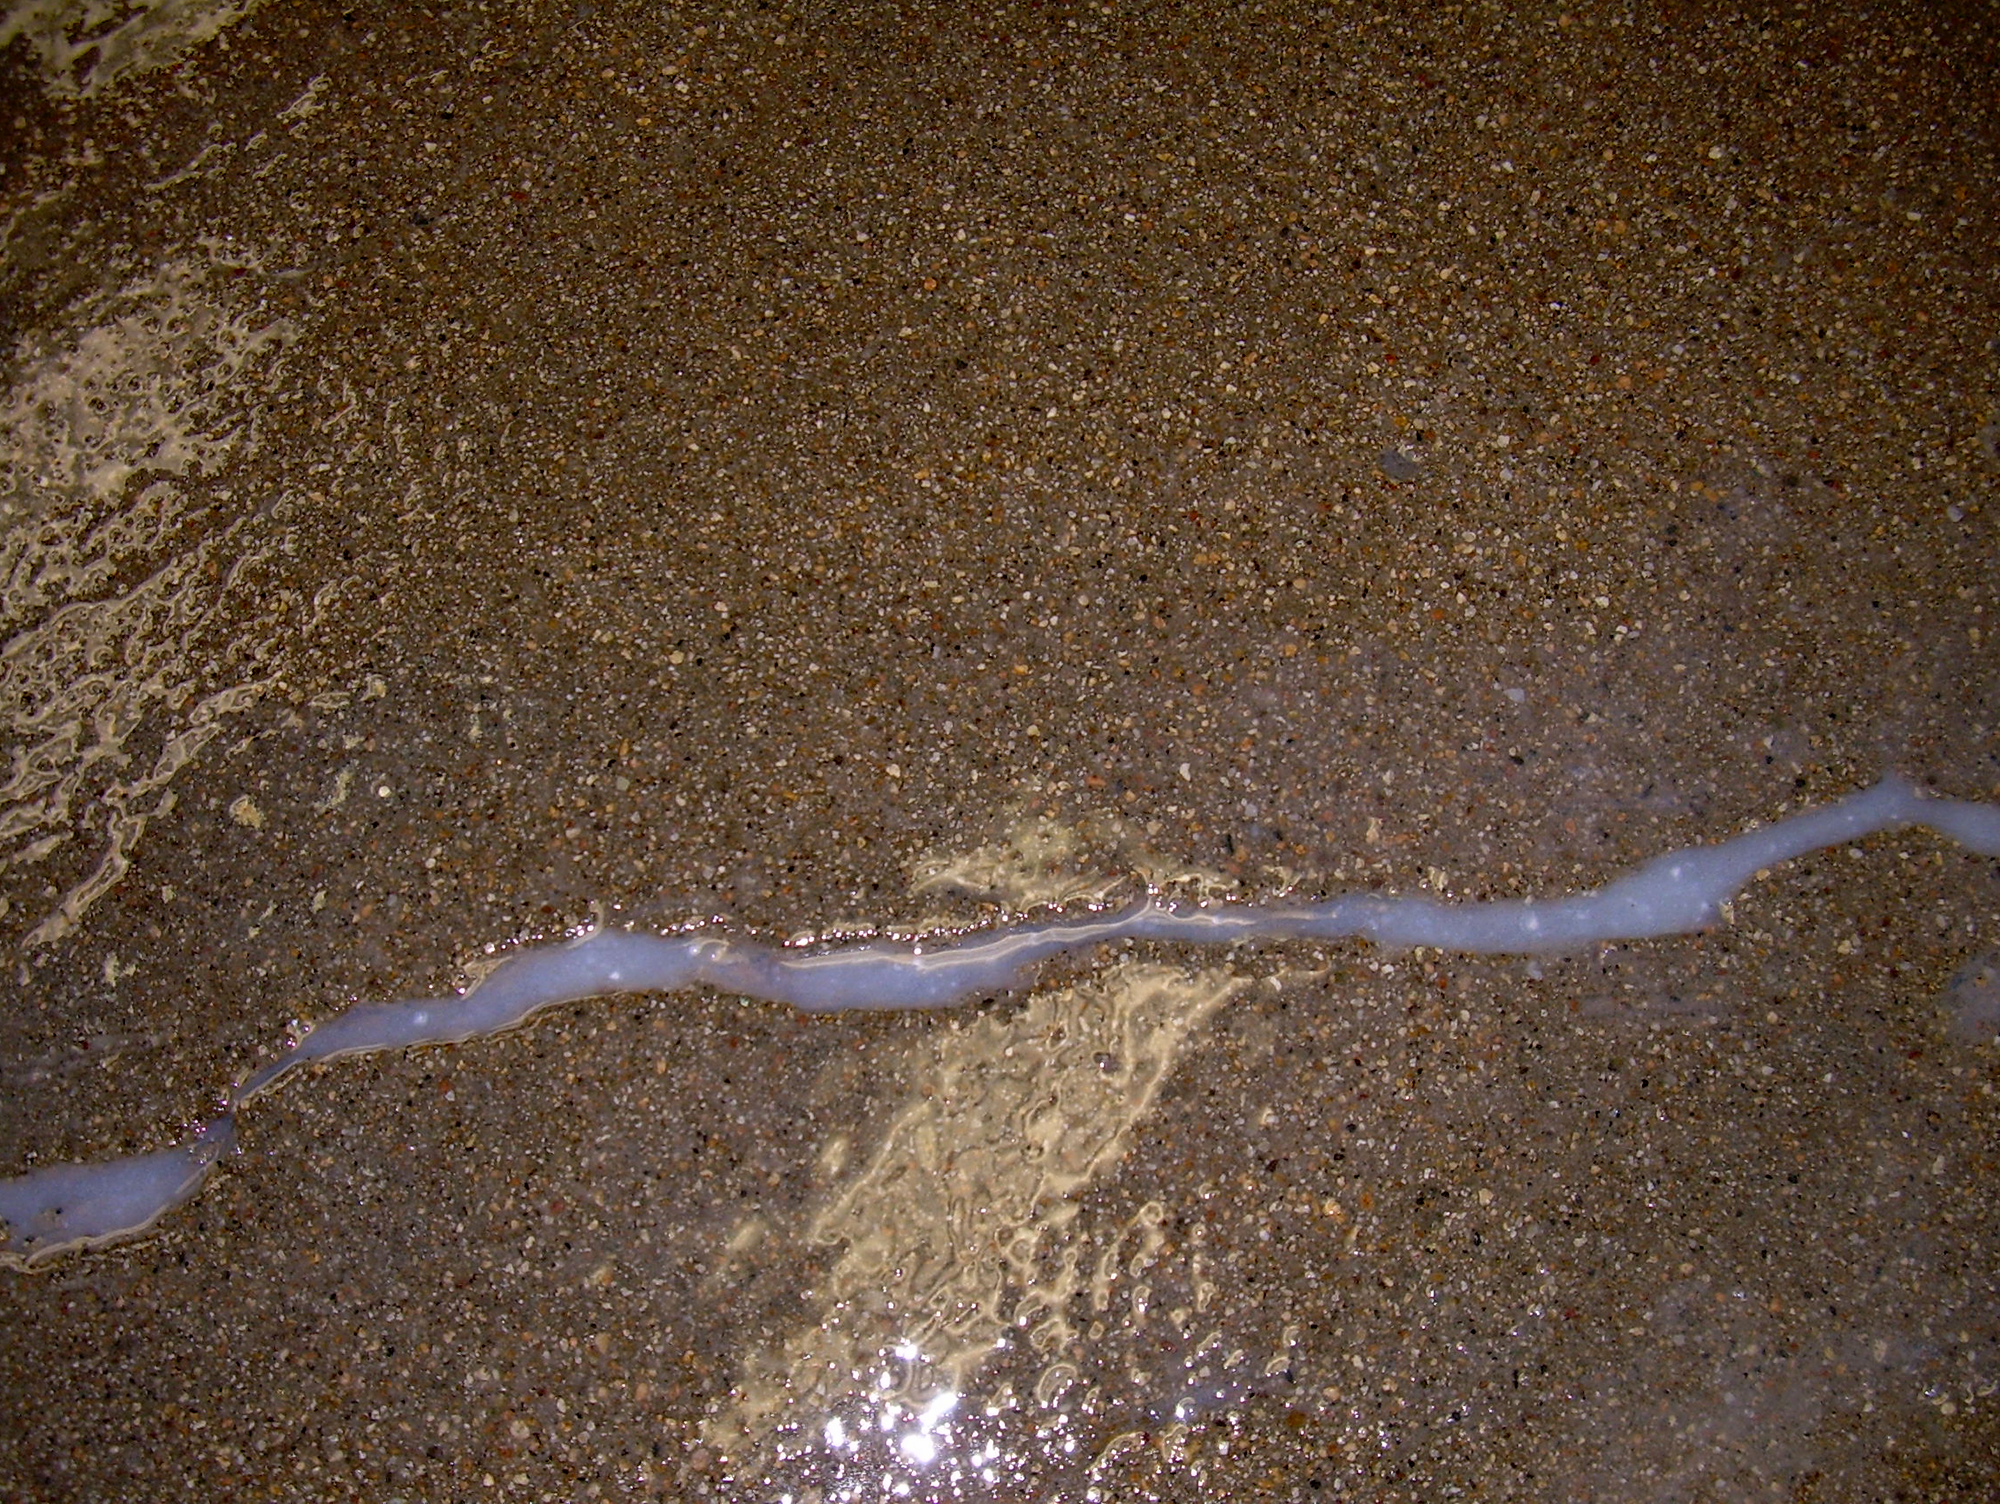
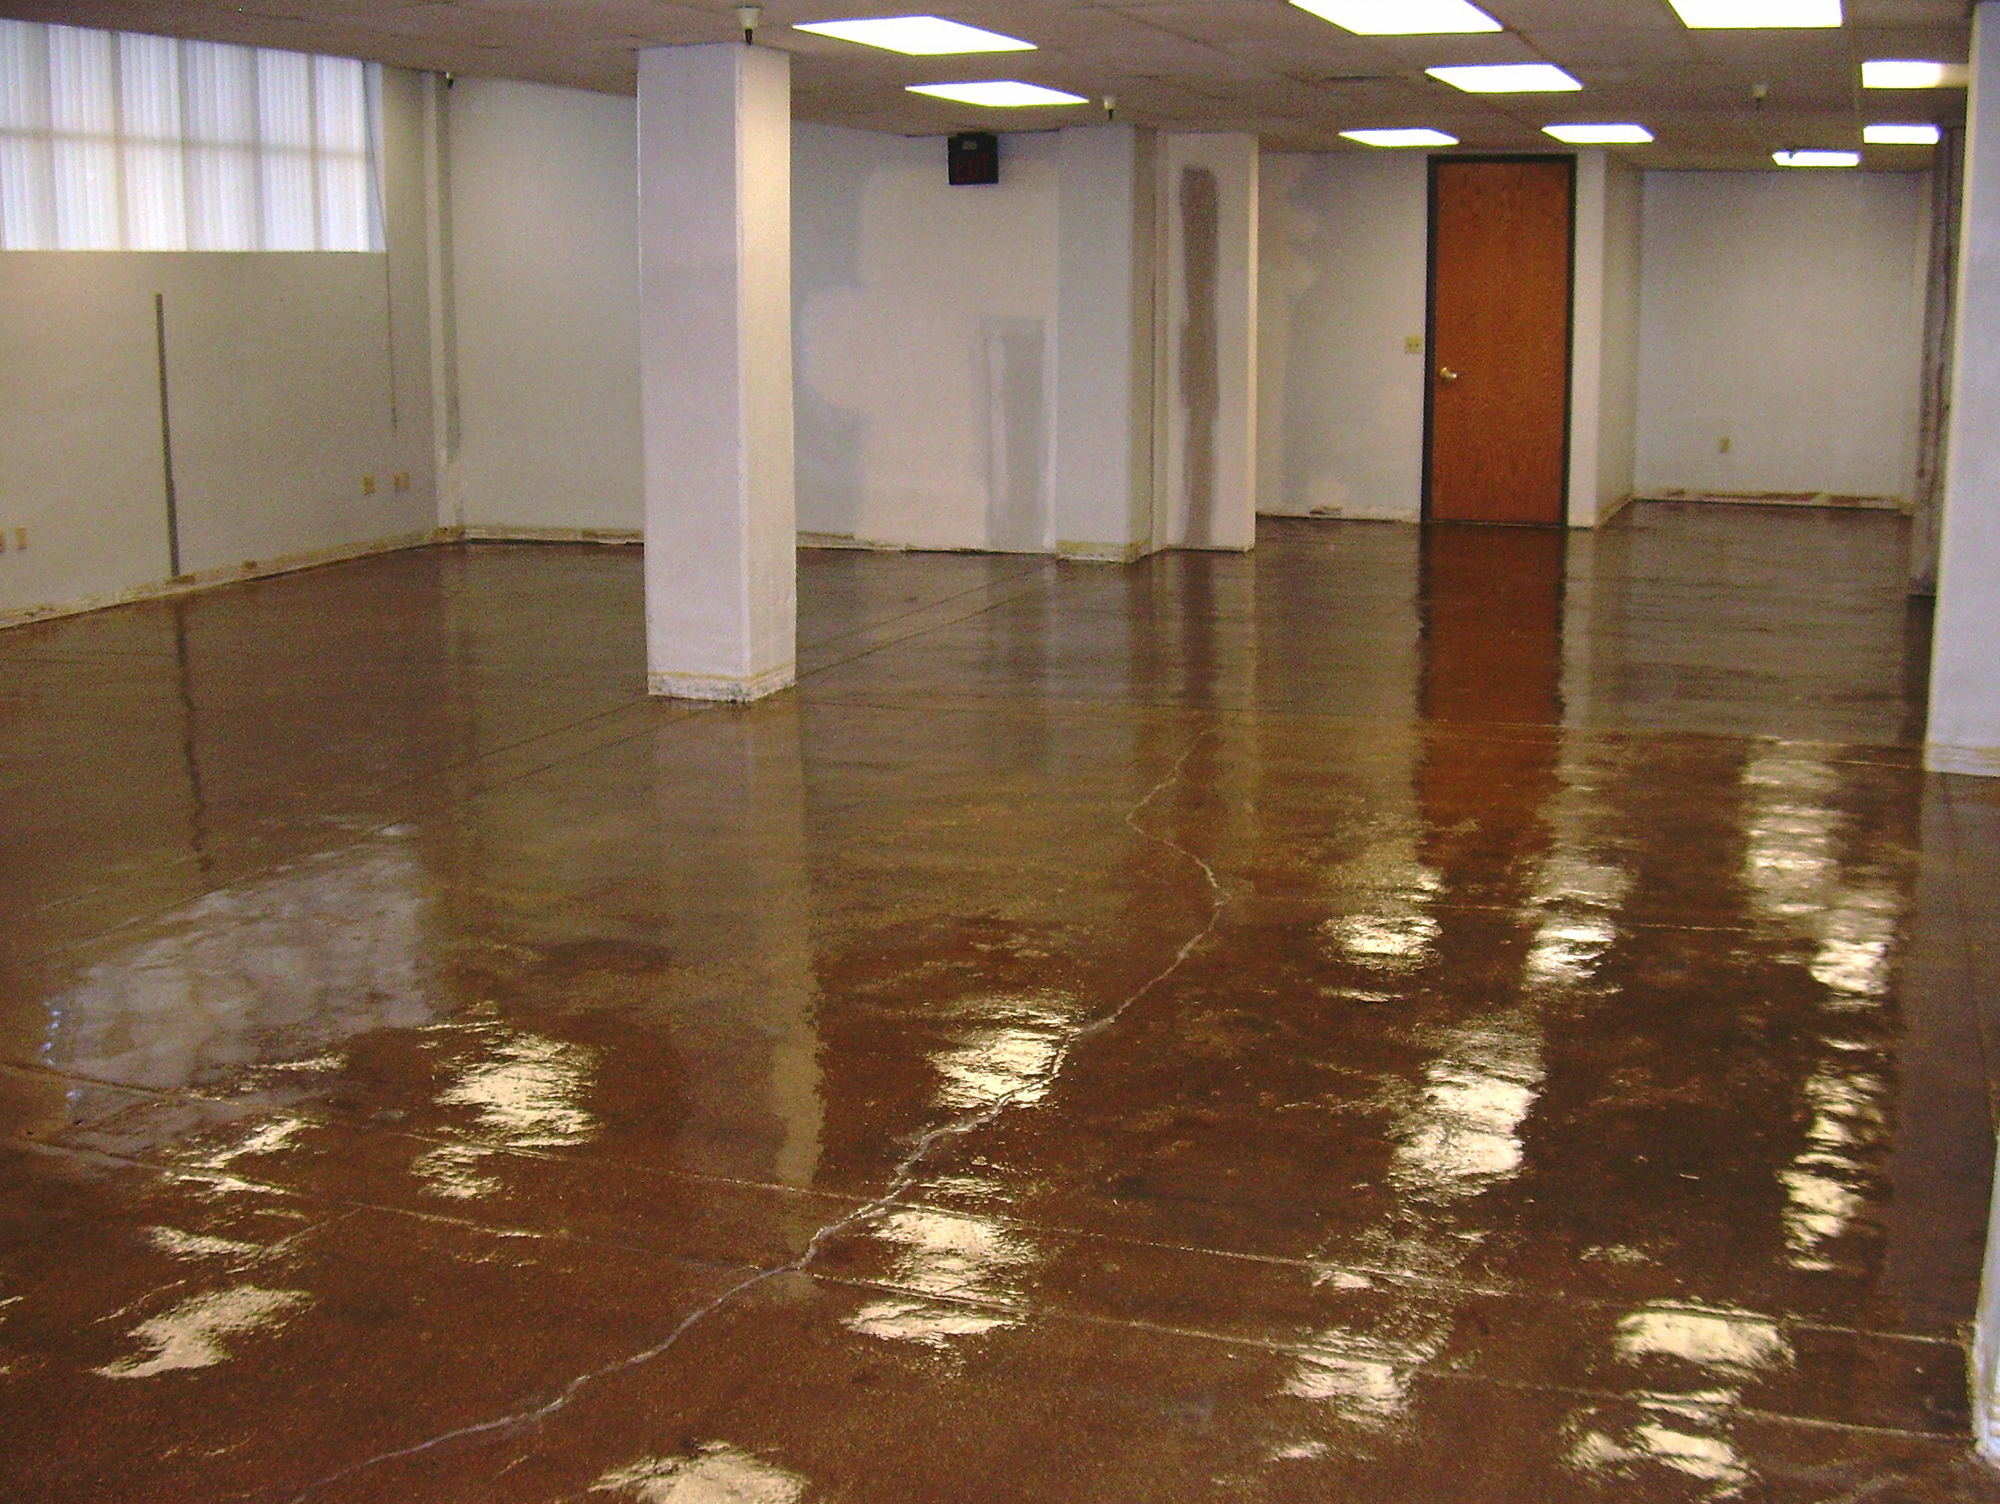
At an office building in Sacramento's downtown area, built on the site of a gold rush area train stop and repair area, the Owners were experiencing considerable water vapor drive coming up through the floor slab on grade. The carpet tiles weren’t sticking, white powder (efflorescence) was appearing, and the room smelled damp. The Owner needed a fix to stop the water vapor from perking up and damaging their floor covering. Urban Waterproofing applied a go-to epoxy membrane to the prepared concrete floor slab—nearly 20,000 square feet in all.
It is not uncommon to have water vapor come up through slabs in direct contact with the soil. It is critical that water vapor be managed in spaces designed for offices or residences. The water can damage expensive finishes, causing a logistical nightmare if you have to remove cubicles and other office furniture and relocate workers while repairs are performed. Besides the damage to the wet carpet and the smell, tenants can be very wary of a work environment that has a damp smell and the potential associated health risks.
What We Did
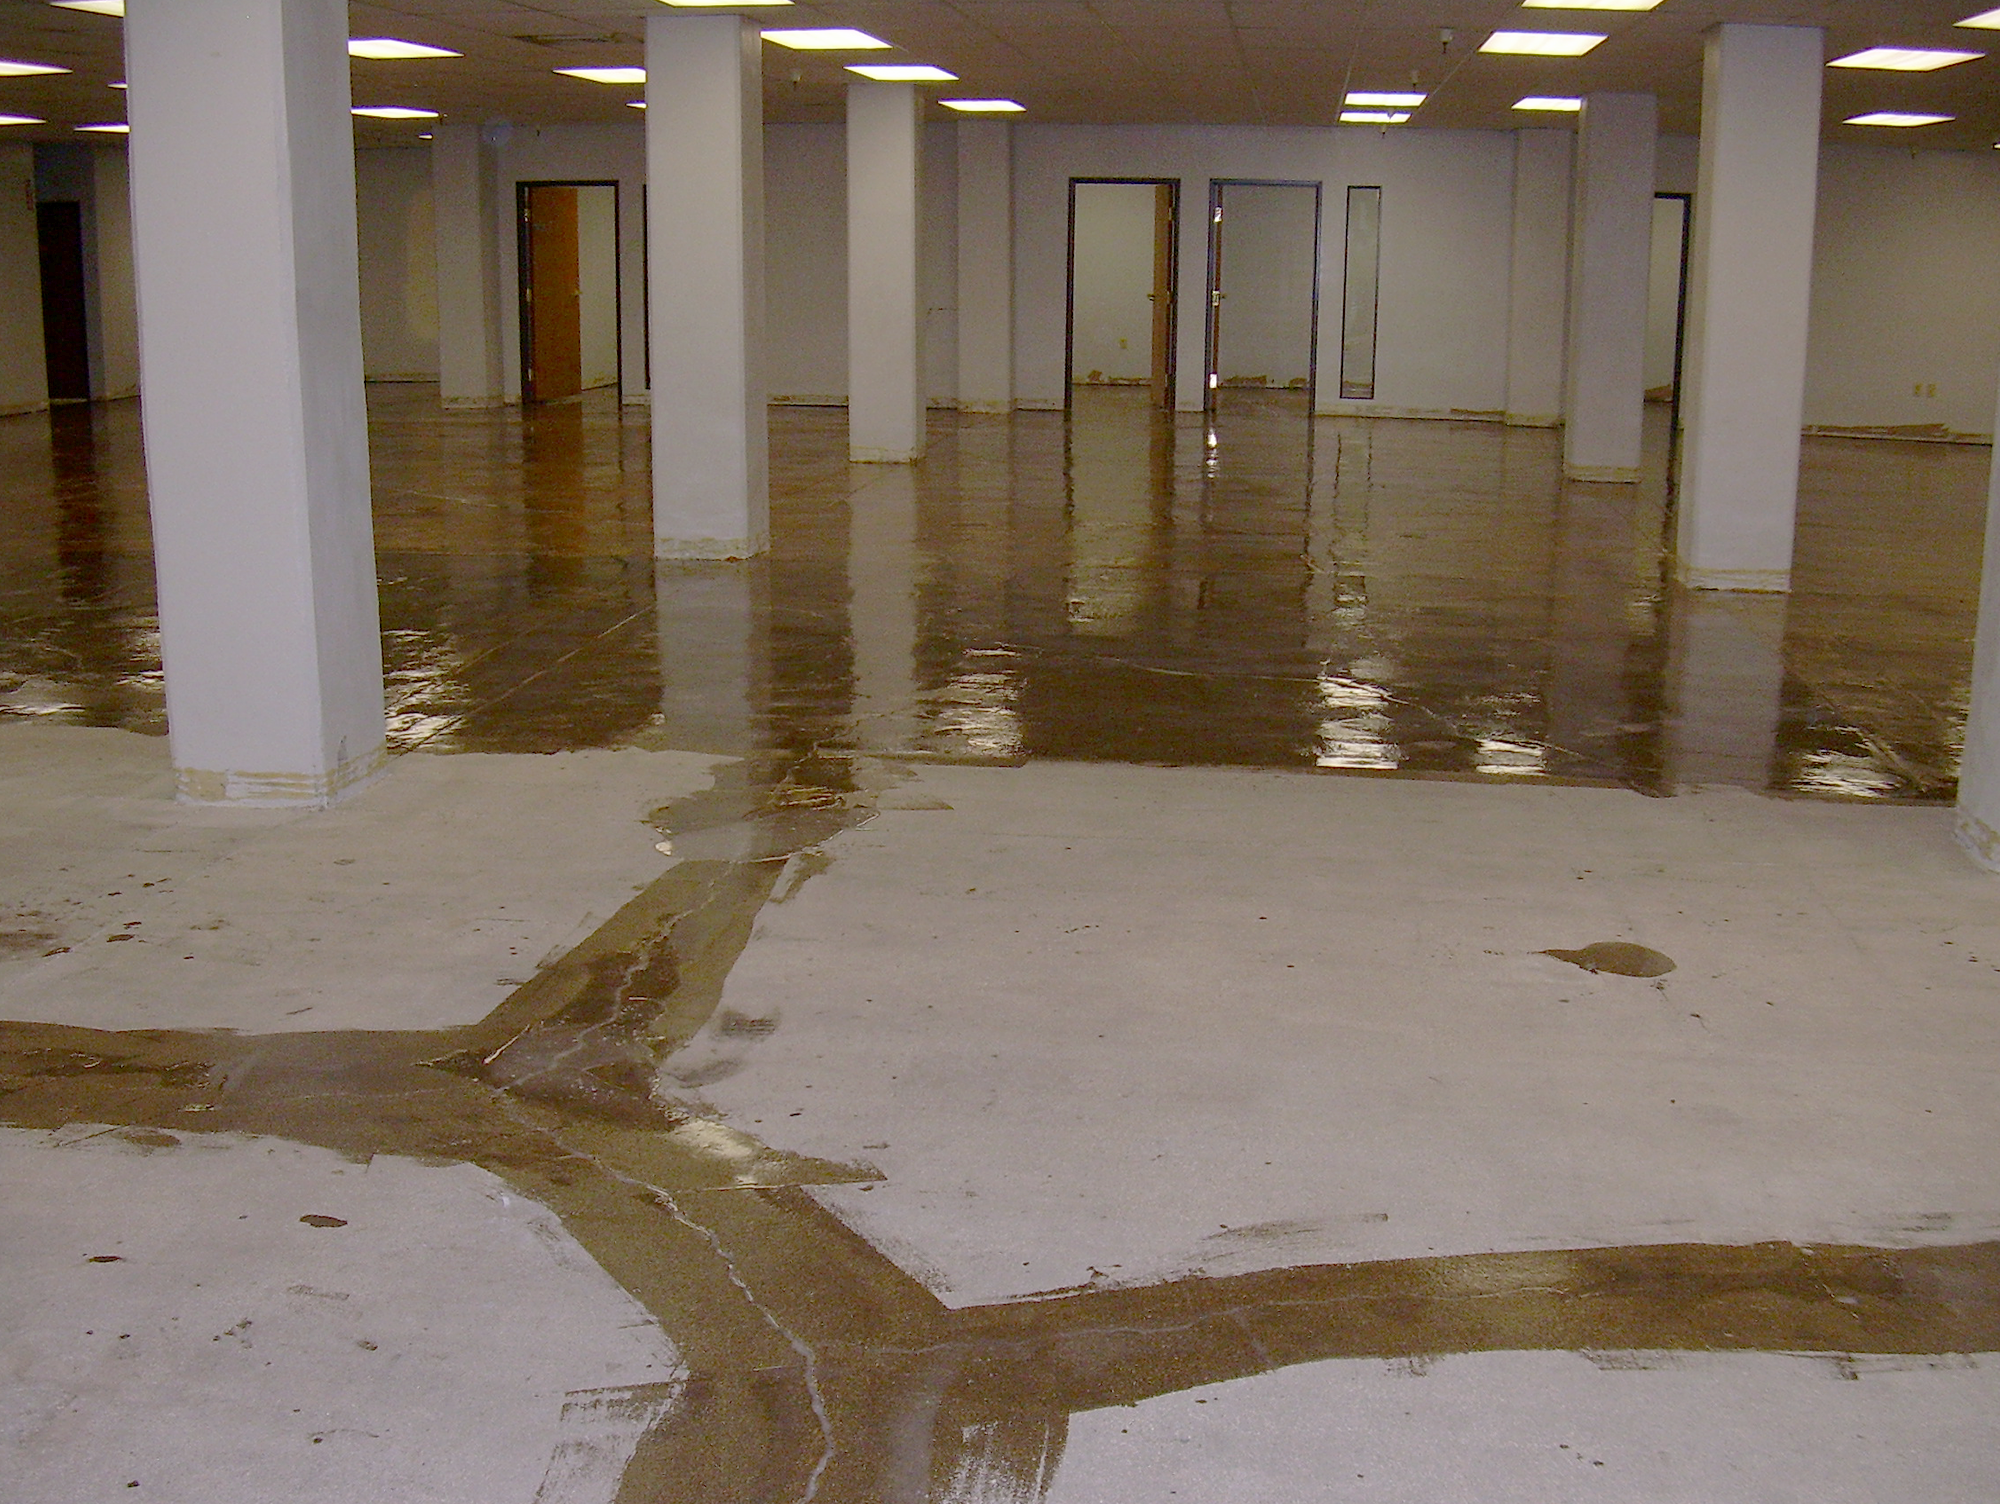
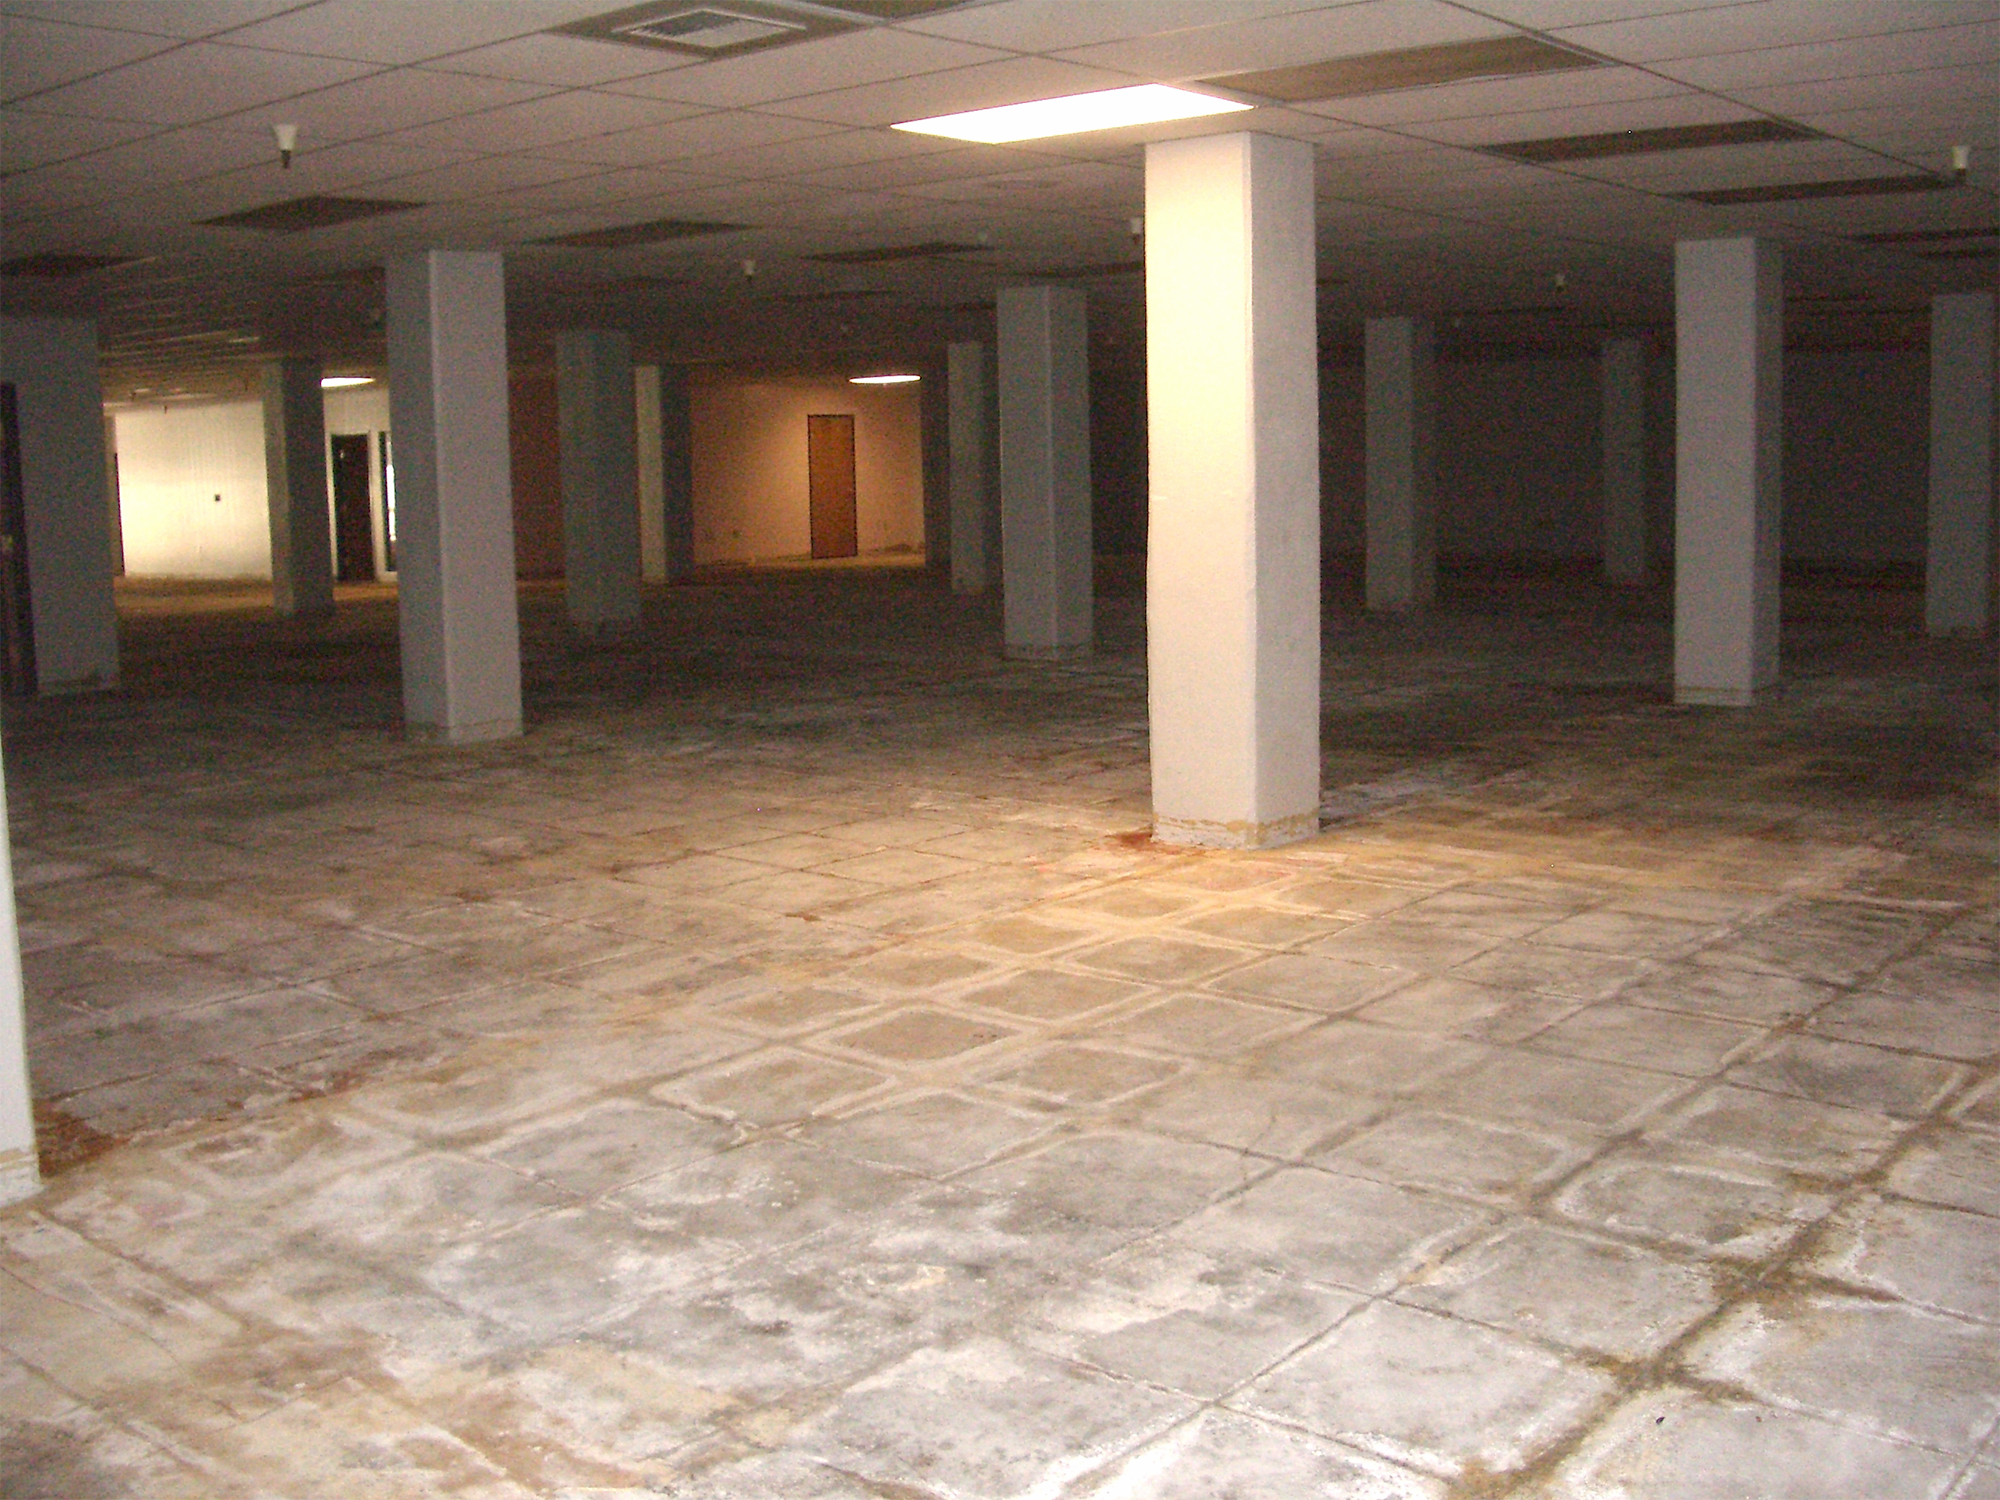
20000 square feet of concrete slab were shot-blasted to prepare the floor surface
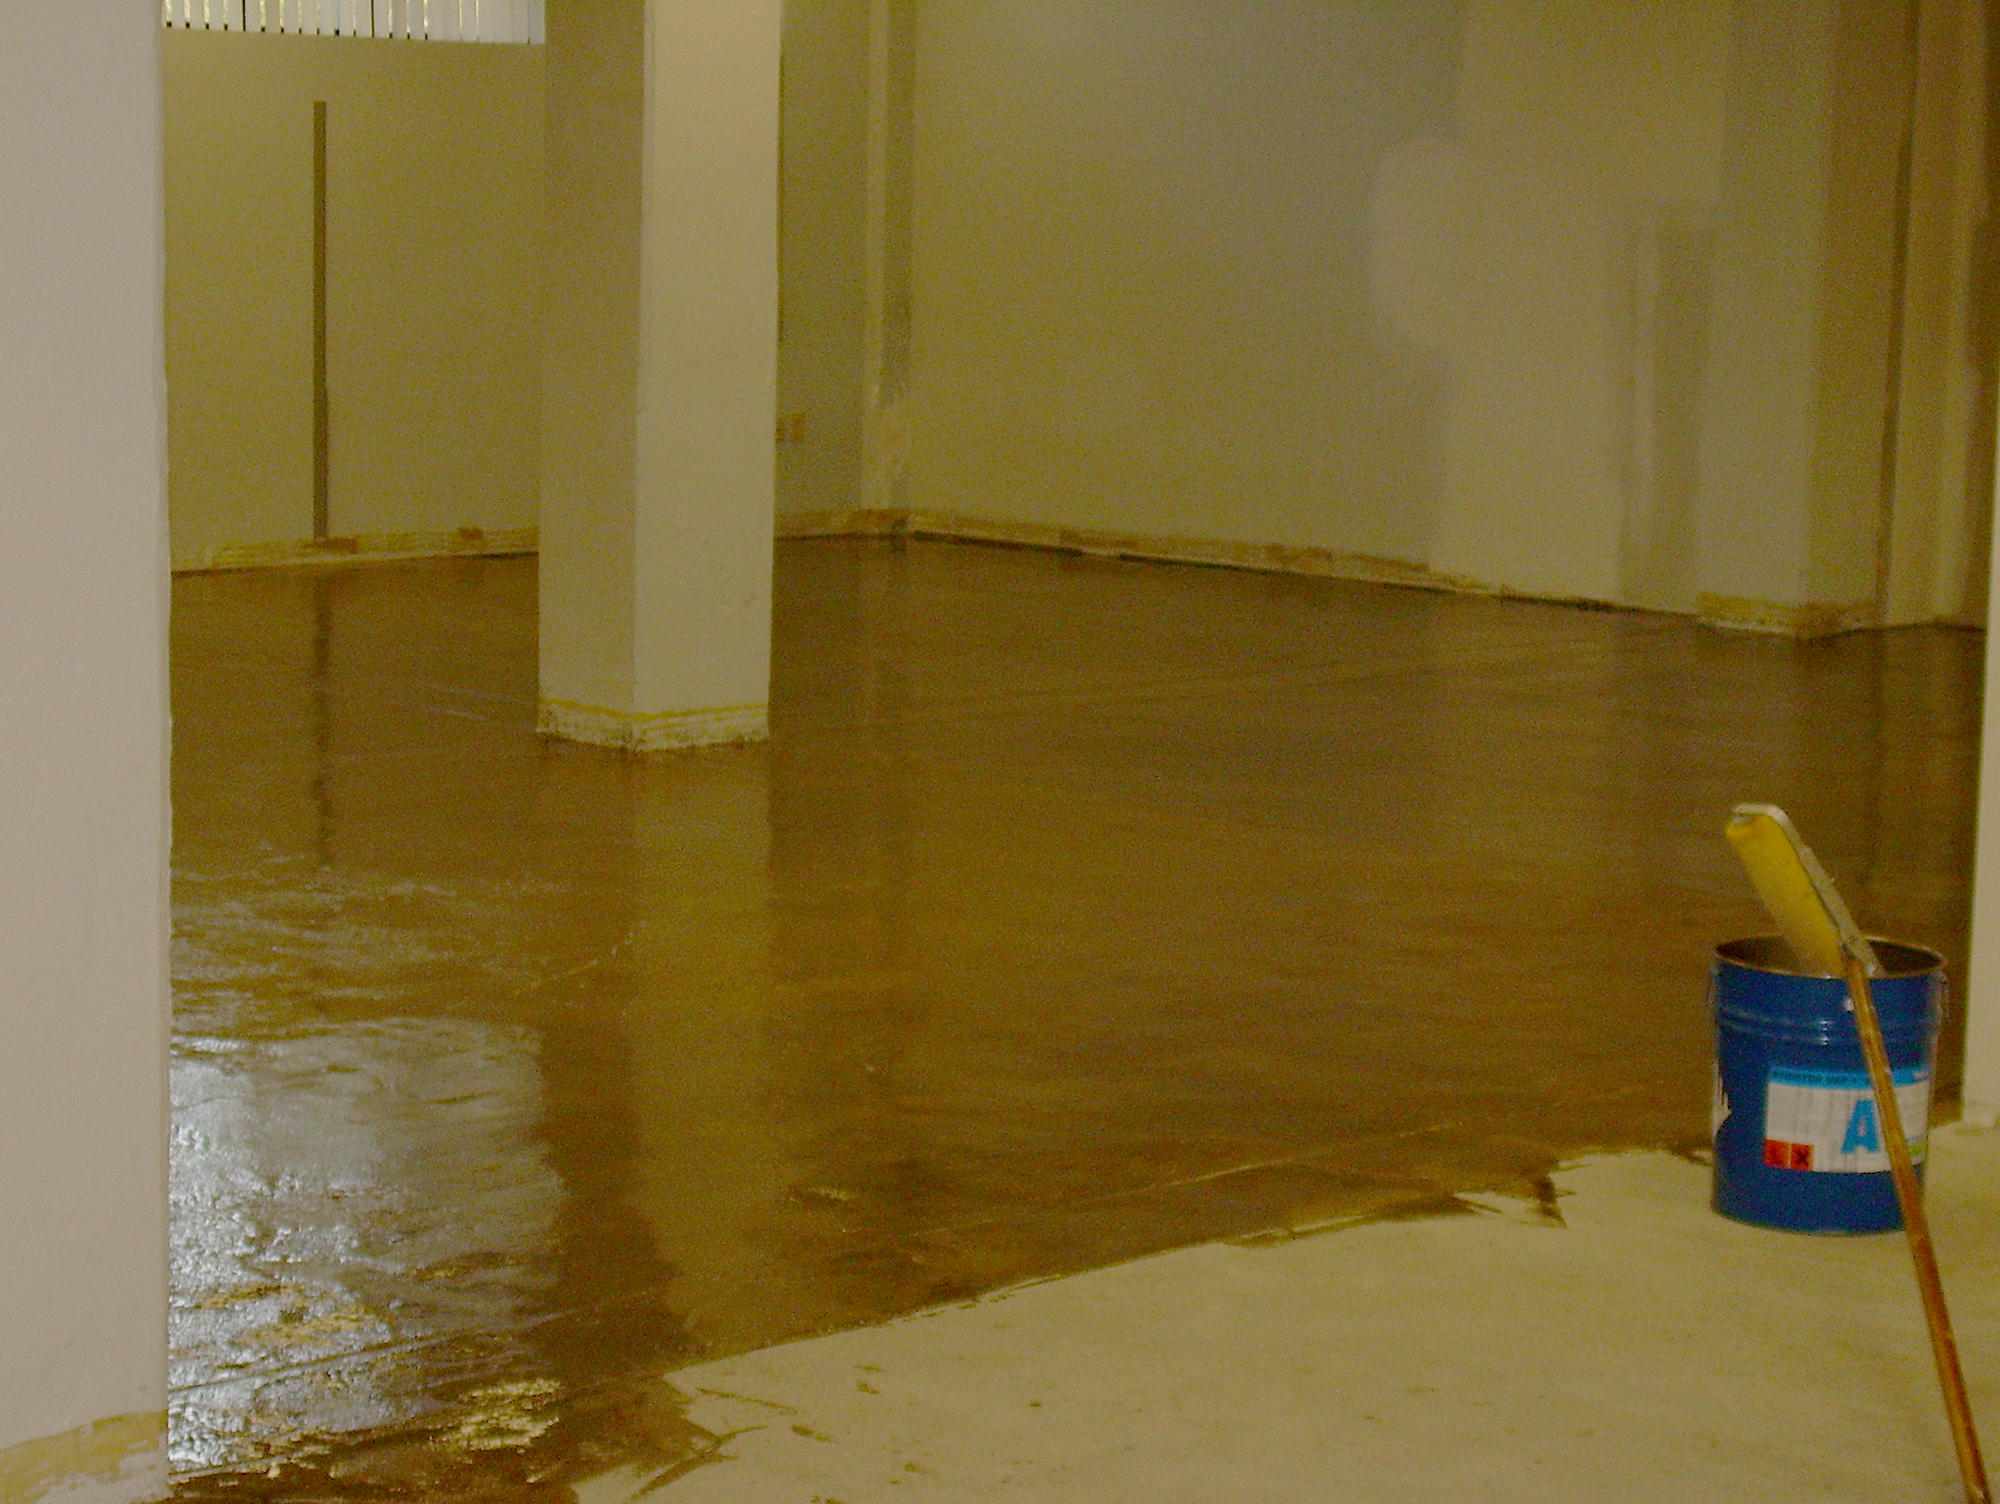
Applied over nearly 250 gallons of Koster VAP1 2000 to the floor surface
Repaired concrete spalls in the floor slab
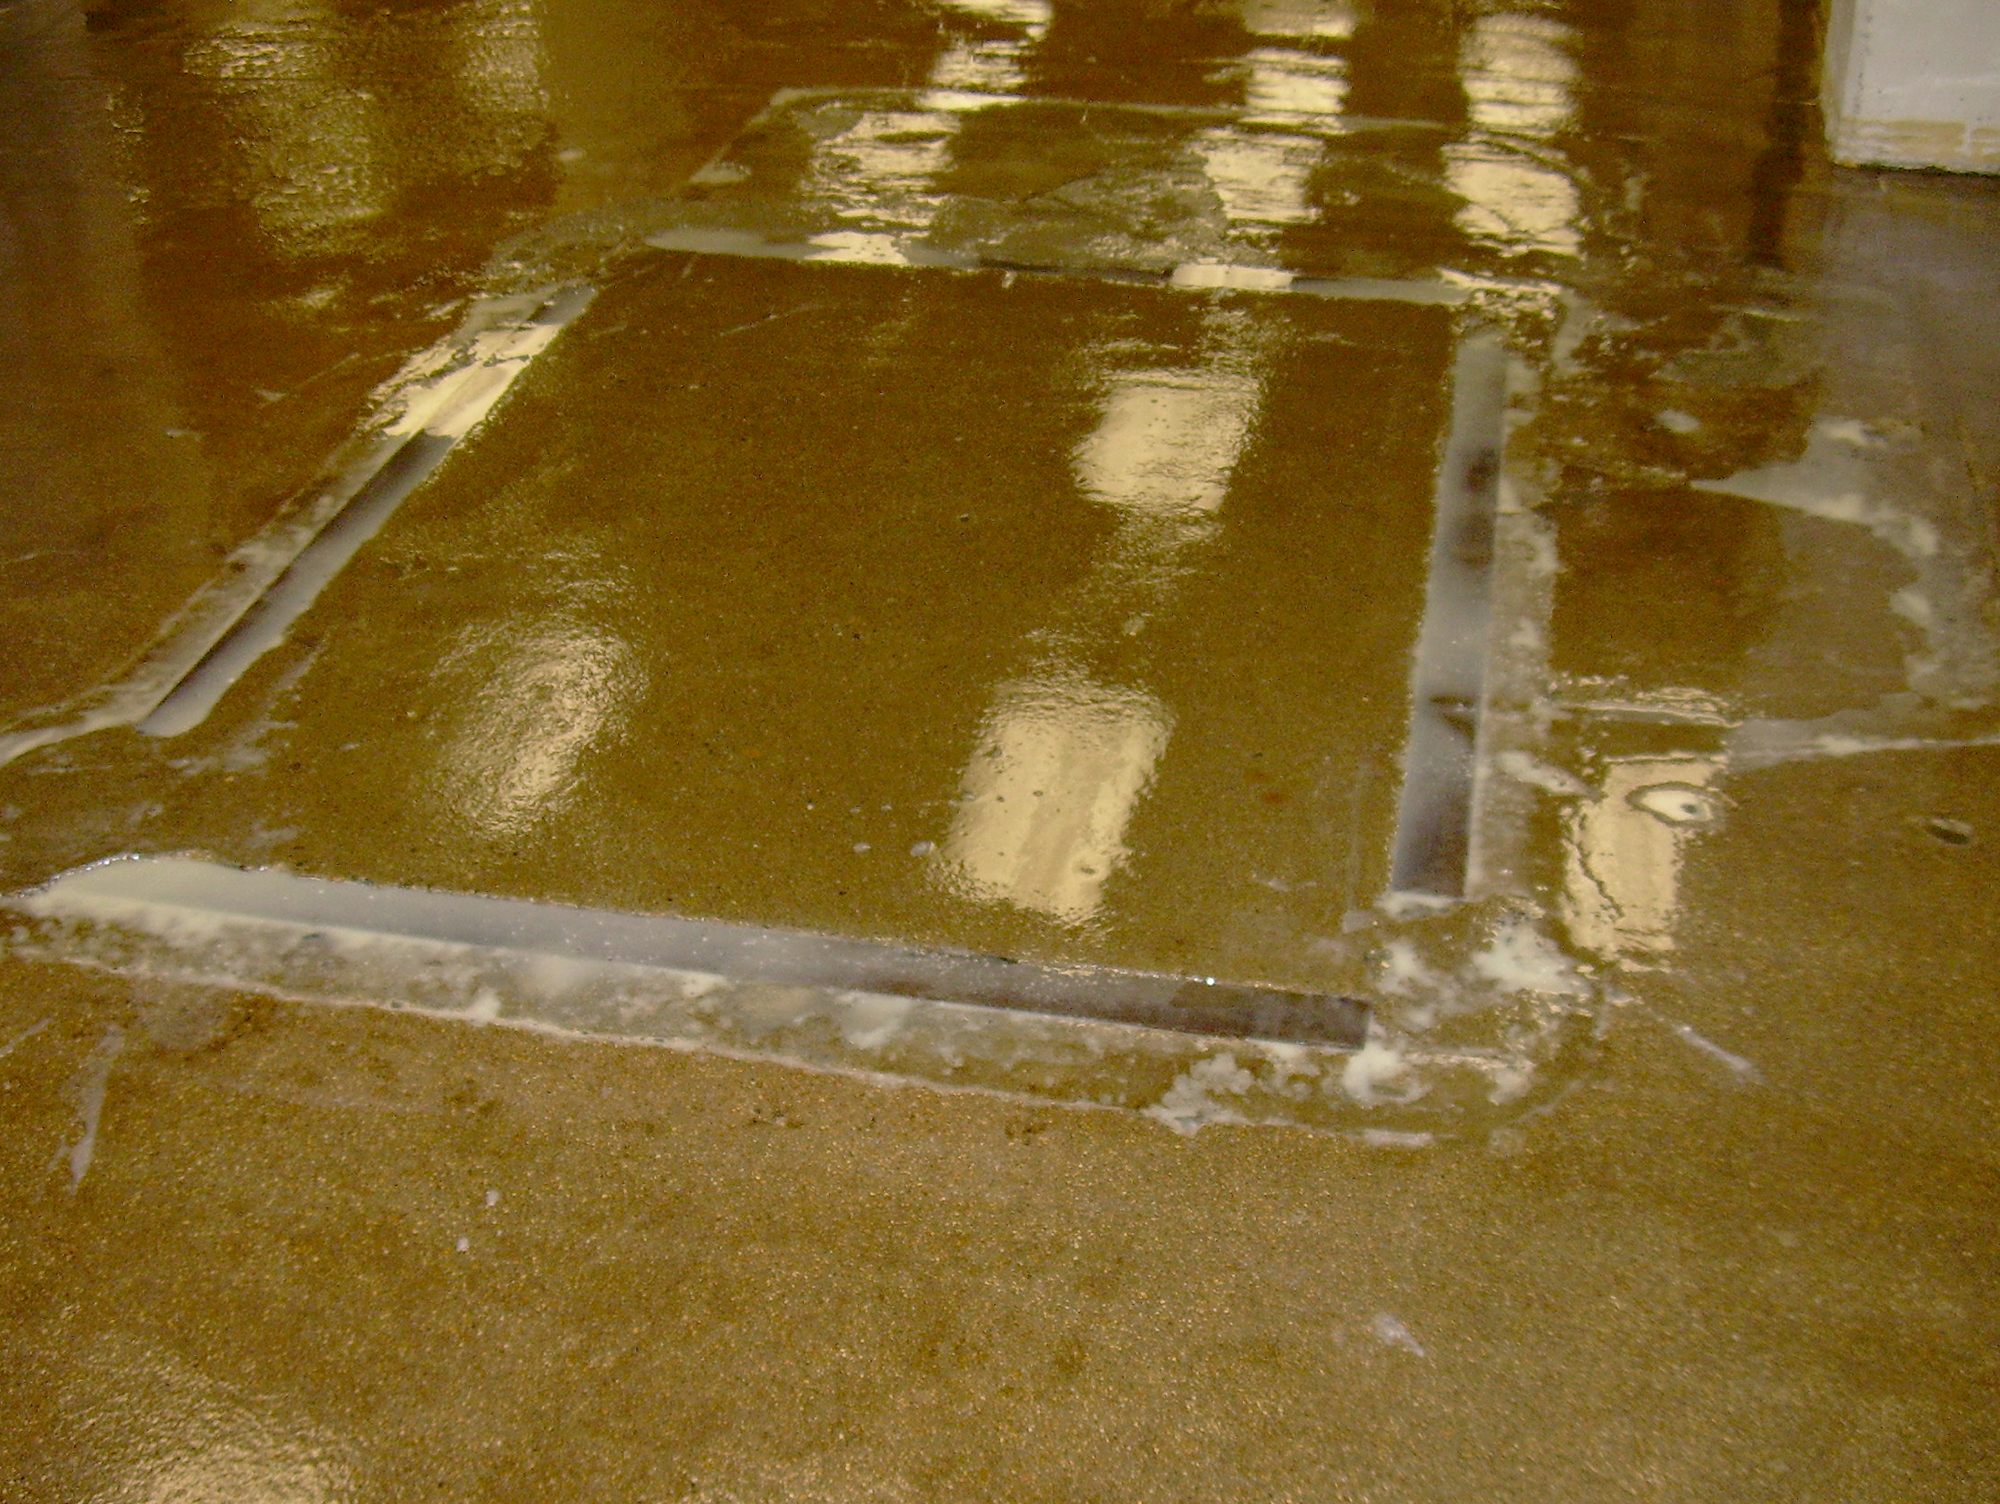
Detailed cracks and expansion joints in the slab with Koster and Cavasil mix
Project Details
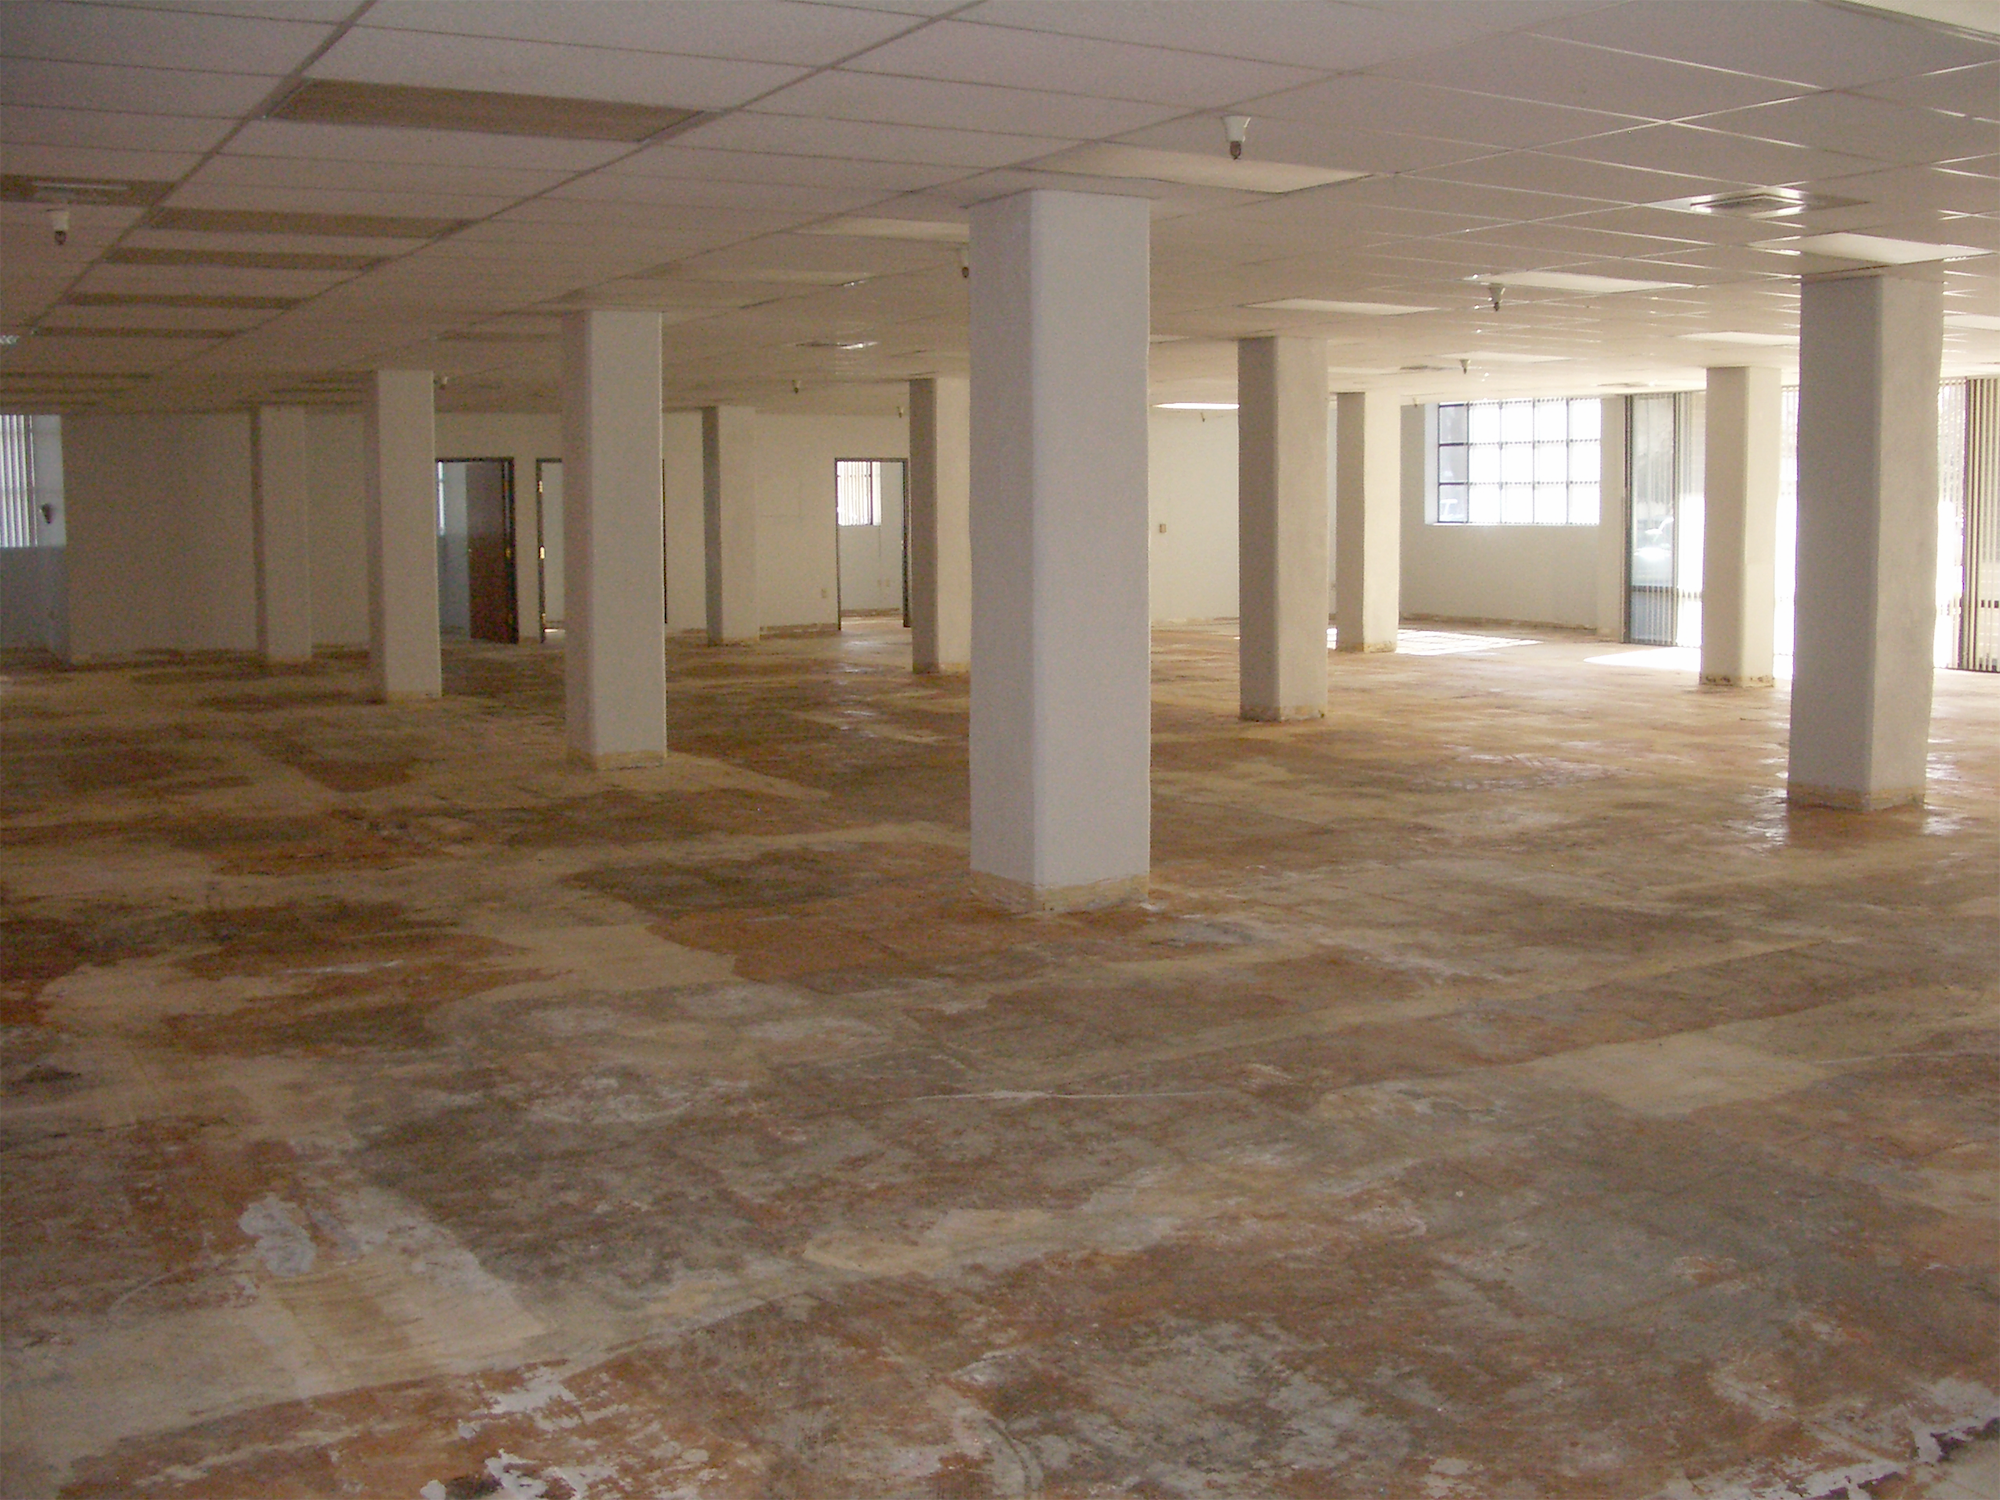
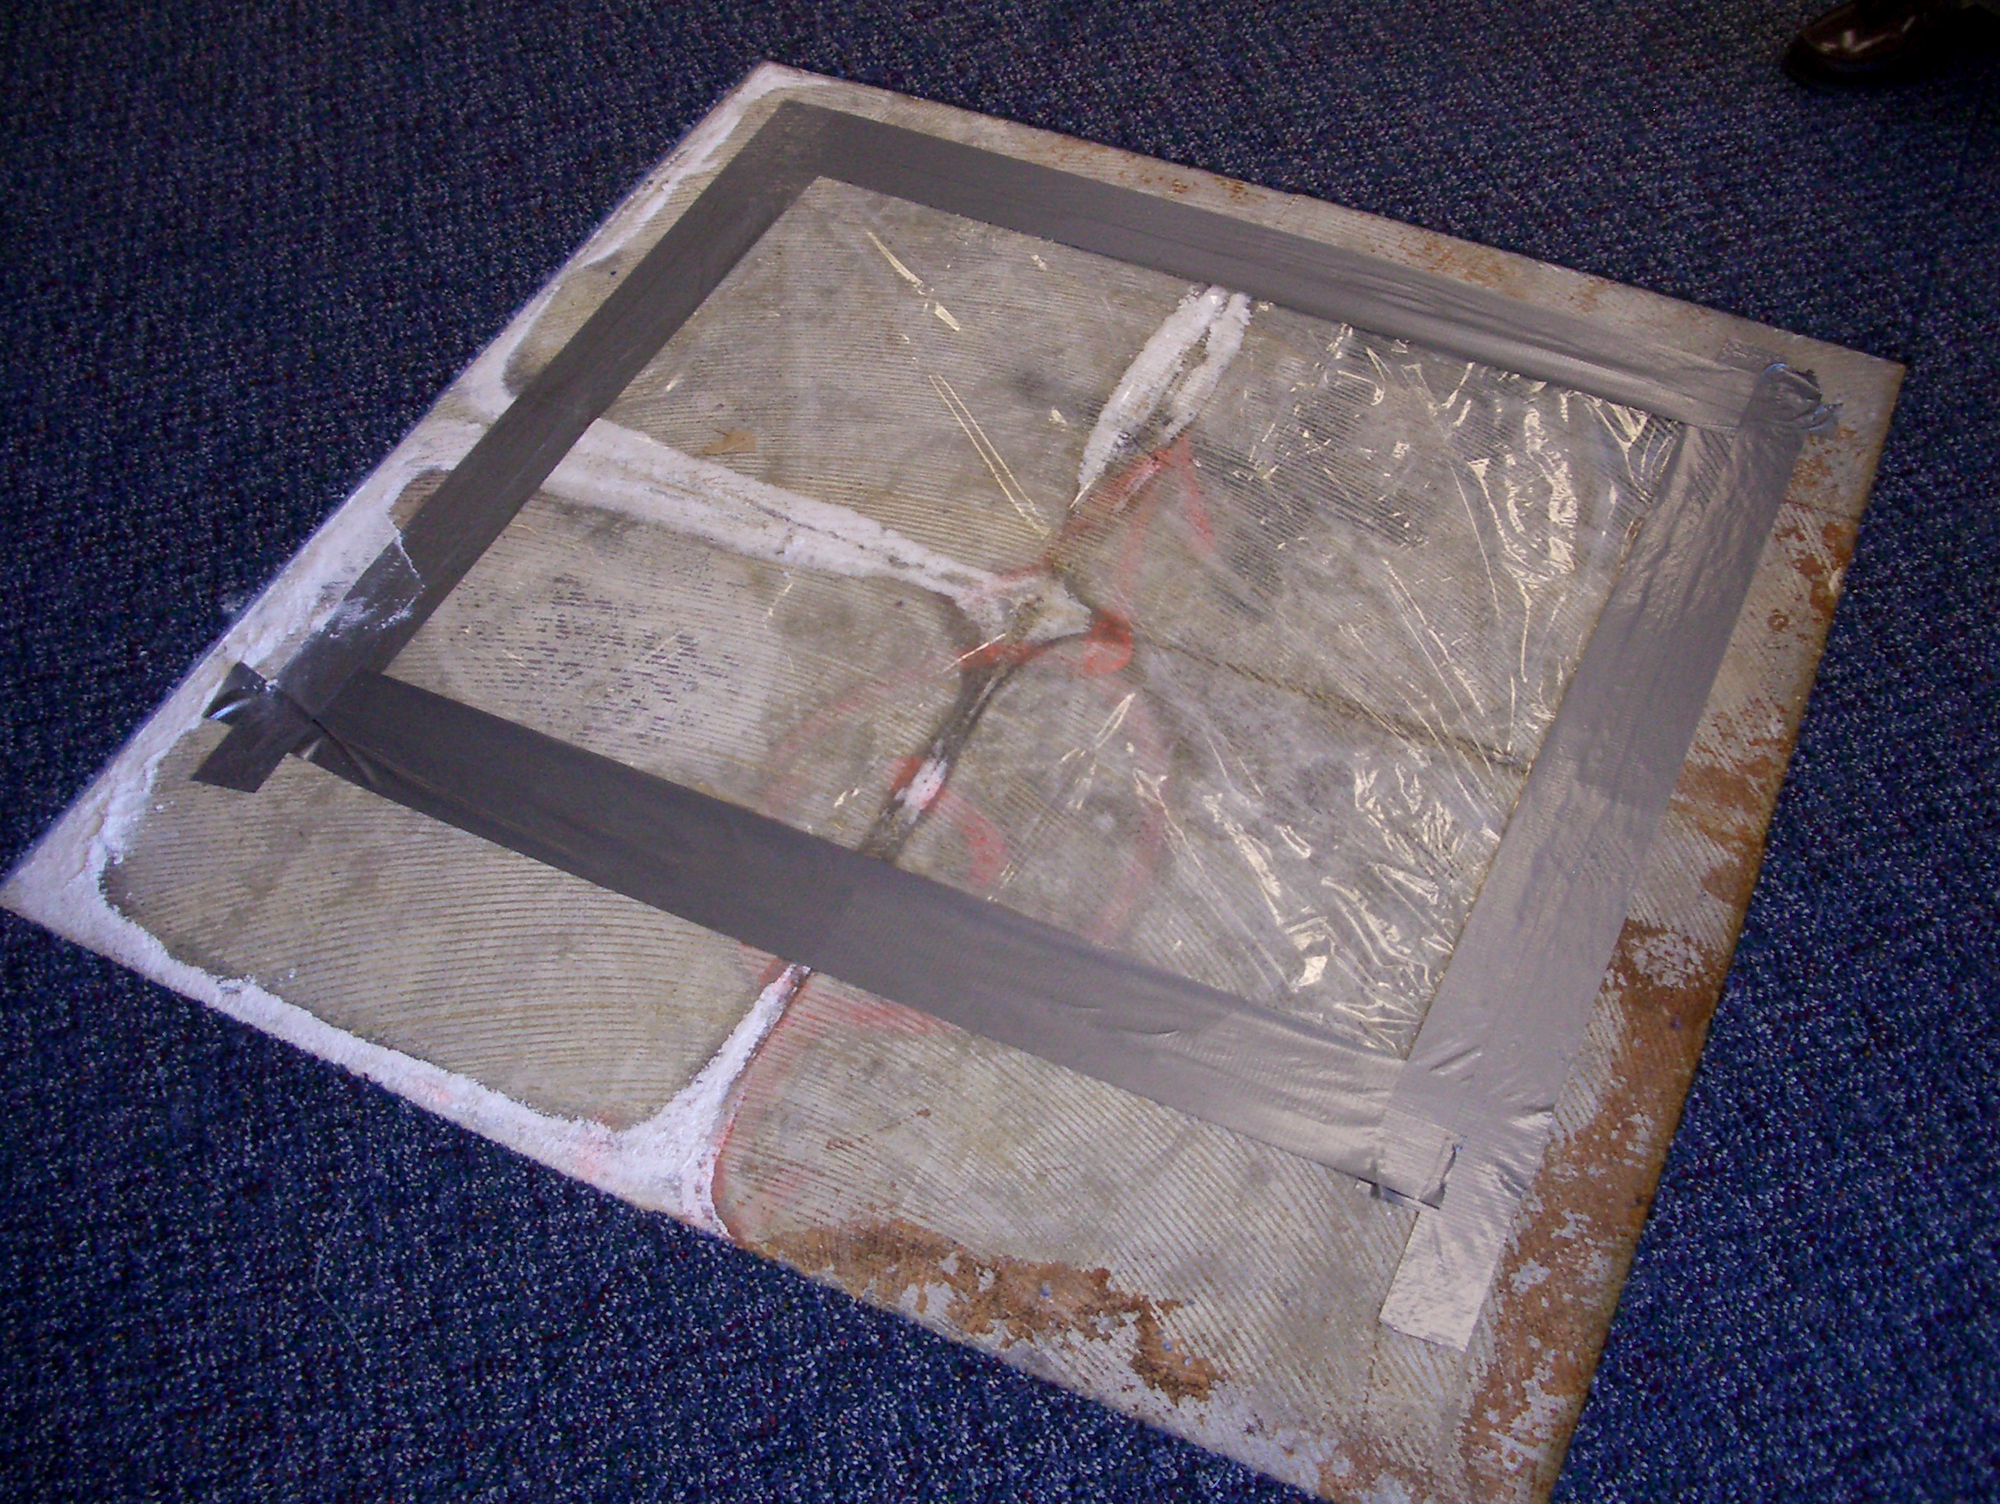
After the carpet tiles were removed and the entire floor slab was exposed, we could see the extent of the damage. Vapor transmission wasn’t present on the entire slab, but most of it was, and in some places it was quite severe. The first step was to perform a "mat test", to confirm the amount of moisture transmission. This is critical in selecting the right material. The results of the mat test or calcium chloride test will give you numerical readings (lbs per sq inch per 24 hours). If you use the product that can’t handle that much drive, you will not have solved the problem, and your damaged floor covering issues will persist. Taking the time to perform this important step is critical. Given the reading we received, we selected a top-of-the-line product, the Koster VAP 1 2000, which was up to the task.
With the product and approach selected, the slab was shot-blasted to prepare for the vapor barrier. In the course of the shotblasting, we uncovered numerous concrete spalls and old, ineffective surface fillers that had to be removed and repaired before the installation of the new coating. Plus, there was an area, likely original from its days in the 1800s, where mechanical repairs were performed that had oil and grease saturated into the slab. Nothing was going to stick to that. We spent extra time in those areas, making sure the slab was sound,dry, and ready for coating. The prep stage is critical to the success of the coating to follow. Any shortcuts here, and you will pay the price later.
Moving onto installing the vapor barrier, first all cracks were routed out and filled with a combination of Koster epoxy and Cavsil filler. The Cavasil helps give the material some body in these locations. Expansion joints were prepared and honored (material was brought into the joint and the side, but not covering it). The floor slab wants to flex in these locations, and a rigid epoxy layer bridging over these areas will resist the movement and crack.
With all of the preprate and detailing complete, we installed the Koster VAP 1 2000 to the field of the floor, applying 18,000 in three days. The now waterproofed floor was ready for the flooring contractor to apply their leveling compound and floor covering.
Want to know how we can help with your next project?